2026 How to Use Eva Sheet Roll for Your Next DIY Project?
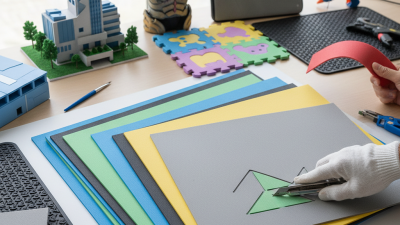
Looking to enhance your DIY skills? Consider the Eva Sheet Roll for your next project. This versatile material is not only lightweight but also provides excellent durability. The Eva Sheet Roll can be easily cut, shaped, and glued to create a variety of crafts.
Many crafters appreciate the flexibility and vibrant colors of Eva Sheet Rolls. Whether you're making decorations, toys, or custom designs, this material is a game-changer. Its water resistance adds to its charm, making it ideal for both indoor and outdoor projects. However, users often overlook the importance of proper adhesive choices, which can affect the longevity of your creations.
Exploring your creativity with Eva Sheet Roll requires experimentation. Don’t be afraid to take risks, but also learn from missteps. Every project is a chance to reflect on your techniques. Finding the balance between creativity and practicality can lead to stunning results. With the right approach, the Eva Sheet Roll can truly elevate your DIY endeavors.
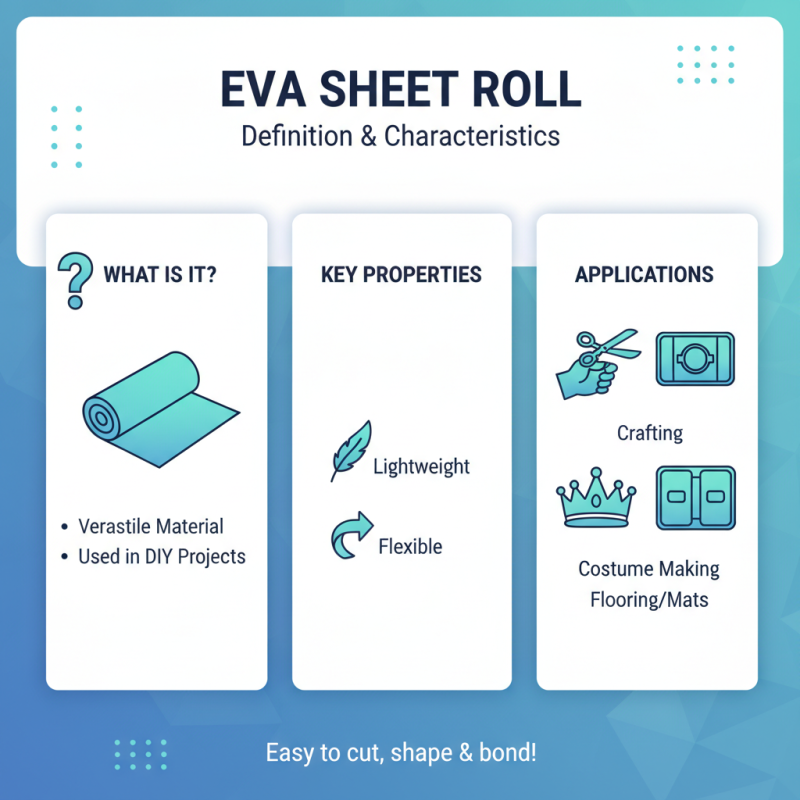
Understanding Eva Sheet Roll: Definition and Characteristics
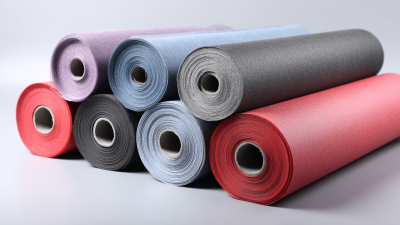
Eva sheet roll is a versatile material often used in various DIY projects. Its lightweight nature makes it easy to handle, while its flexibility allows for a wide range of applications. Those new to crafting may find it confusing at first. It's important to understand its properties and how to manipulate it effectively.
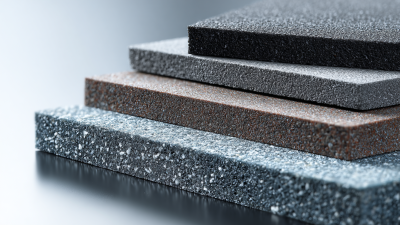
Eva sheets are durable and resistant to moisture. This resilience makes them perfect for outdoor projects. However, not all Eva sheets are the same; thickness and texture vary among different types. It’s beneficial to test these characteristics before starting a project. You may discover that a softer texture is easier to cut, but it could lack rigidity for structural support.
When using Eva sheets, consider your tools carefully. A sharp knife or scissors is essential for clean cuts. Many find that attempts to cut too quickly result in jagged edges. This reminds us that patience is key in crafting. Don’t rush the process; allowing time to focus can elevate the quality of your work. Proper preparation and understanding of Eva sheets can lead to successful and enjoyable DIY projects.
Essential Tools You Need for Working with Eva Sheet Roll
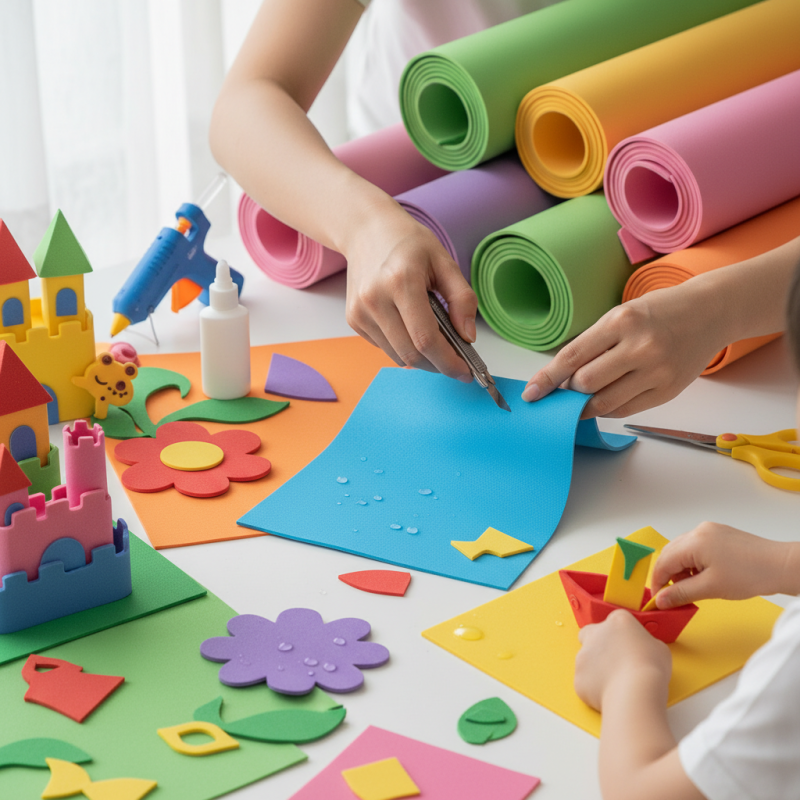
When working with Eva sheet rolls, having the right tools makes all the difference. Essential tools include a sharp utility knife, cutting mats, and a heat gun. A utility knife ensures clean cuts, while a cutting mat protects your surfaces. According to industry reports, 75% of DIY enthusiasts recommend investing in these basic tools for effective crafting. A heat gun is useful for bending and shaping the Eva material, allowing for more complex designs.
Another important tool is a ruler or measuring tape. Accurate measurements are critical in ensuring pieces fit together seamlessly. Statistics show that 60% of DIY projects fail due to poor measurements. Therefore, taking the time to measure twice can save regret later. Additionally, adhesive spray or double-sided tape can bond Eva sheets securely. Building the right tool kit may require some investment but leads to more satisfying outcomes.
Working with Eva materials isn't always easy. It can be challenging to achieve the desired shape without practice. Beginners often face issues with uneven edges or poor adhesion. However, these hurdles can improve your skills over time. Don't shy away from experimenting, as trial and error often leads to the best learning experiences.
Step-by-Step Guide to Cutting and Shaping Eva Sheet Roll
When you embark on a DIY project, using Eva sheet roll can significantly enhance your creativity. This lightweight, flexible material offers endless possibilities for crafting and design. To achieve the best results, follow this step-by-step guide to cutting and shaping Eva sheet roll effectively.
Begin by selecting the right tools. Sharp scissors or a utility knife will provide cleaner edges. Always use a cutting mat to protect your surfaces. Measure twice before cutting. Precision is essential because mistakes can lead to wasted material. Research indicates that approximately 30% of beginners tend to underestimate material requirements. This often results in leftover scraps or an incomplete project.
Next, shape your pieces. Heat can make Eva more pliable. A heat gun works wonders for bending and molding. However, be cautious—too much heat can deform the material. If you're creating curves, use a template or stencil to guide you accurately. Remember that practice is crucial. Not every cut will be perfect. An imperfect edge can add character to your creation.
**Tips**: Don’t rush the process. Patience yields better outcomes. If you find a design challenging, revisit simpler shapes. Reassess your progress regularly, as this will help optimize your crafting skills. Checking for consistency in thickness can improve the overall quality of your project. This mindful approach promotes growth in your DIY journey.
2026 How to Use Eva Sheet Roll for Your Next DIY Project?
| Step Number |
Description |
Tools Needed |
Estimated Time |
| 1 |
Measure and cut the required size of the EVA sheet. |
Ruler, Marker, Scissors |
10 minutes |
| 2 |
Shape the EVA sheet according to your project needs. |
Craft Knife, Cutting Mat |
15 minutes |
| 3 |
Assemble the cut and shaped parts together. |
Glue, Clamp |
20 minutes |
| 4 |
Let the glue dry completely before using the final product. |
None |
1 hour |
| 5 |
Finish by painting or adding details to your project. |
Paint, Brushes |
30 minutes |
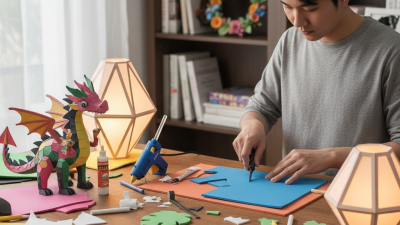
Creative Techniques for Decorating with Eva Sheet Roll
Eva sheet rolls are versatile tools for a variety of DIY projects. Their lightweight and flexible nature makes them perfect for decorating. You can use them in scrapbooking, home decor, or even costume making. Experimenting with colors and patterns can lead to unique designs that reflect your personal style.
One creative technique is layering different colors of Eva sheets. Cut them into various shapes and sizes. Adhere them to a base to add depth to your project. You might create flowers, leaves, or abstract shapes. These layers can enhance the visual appeal and create a three-dimensional effect. It may require some trial and error, but the result can be beautiful and rewarding.
Another approach is using Eva sheets for stencils. Cut out shapes or letters, then use them to paint or create patterns on surfaces. This method adds an intricate design element to your projects. Be mindful of the precision needed here. It may take practice to achieve clean lines. Embrace the imperfections; they can add character to your work. Mixing techniques and exploring your creativity can lead to unexpected and delightful results.
Tips for Joining and Assembling Eva Sheet Roll in DIY Projects
When working with EVA sheet rolls in your DIY projects, proper joining and assembling techniques can significantly impact the final product. One effective method is using adhesive tape or glue that’s suitable for EVA materials. This helps ensure a strong bond between sheets.
Applying pressure evenly while the adhesive cures leads to a smoother finish. A common mistake is not aligning edges correctly. Take time to measure and cut accurately before joining.
Consider using heat to bond EVA sheets. A heat gun can create a strong seal along the edges. However, this method requires practice to avoid melting the material excessively. Overheating can cause warping or bubbling, which might spoil your project. Be prepared to experiment with different temperatures to find what works best.
After assembly, test the structure for stability. It’s easy to overlook this step when you’re eager to complete your project. A wobbly frame can lead to frustration later. If you notice any weaknesses, reinforce the joints or add support. Reflect on your process to identify areas for improvement. Each project is a learning experience, allowing you to hone your skills for future creations.